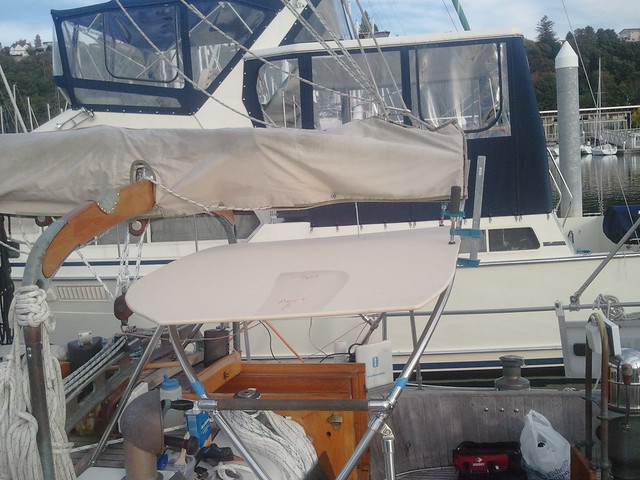
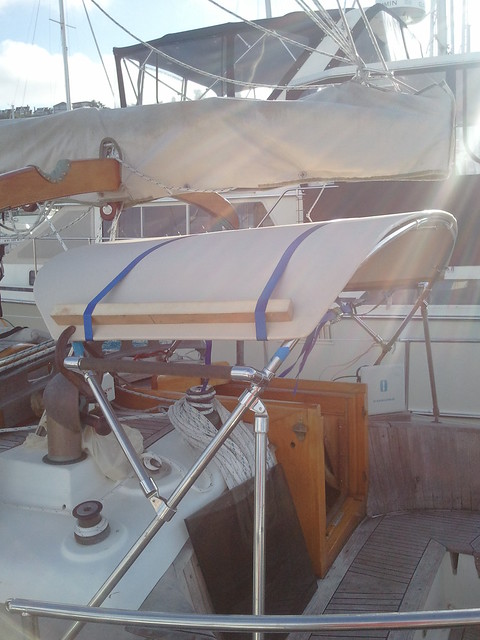
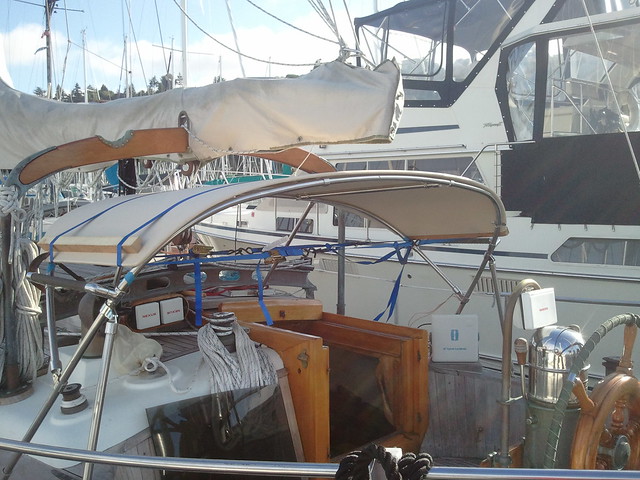
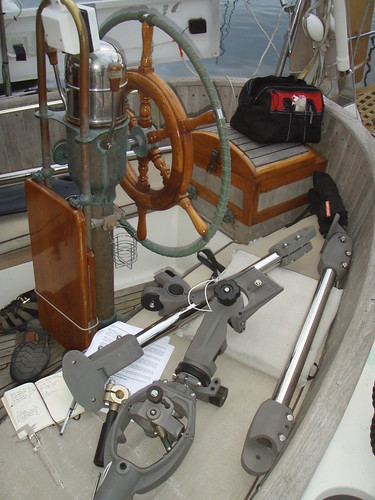
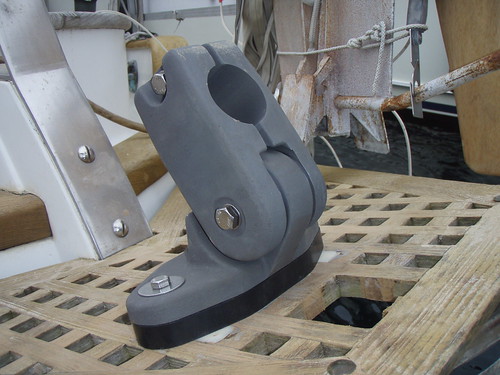
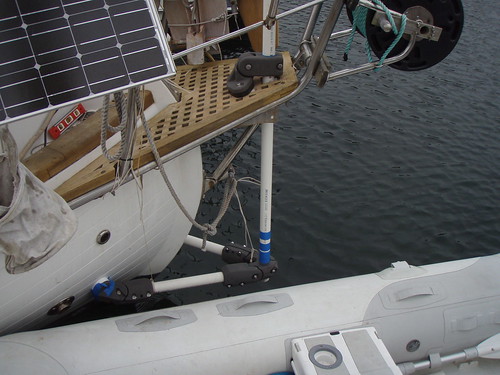
Dodger is done!

If you’ll remember, or want scroll down the page, back in September I had removed the old rotten canvas dodger. Left the tube frame in place and beefed it up with additional supports and built a new hard top using 1/2inch Starboard. This stuff KING StarBoard 24 x 54 x 1/2 WHITE/WHITE is white, but I used tan, because it match my boat better.

The next step was to hire someone with the necessary skills to make us a new bottom half of the dodger from sunbrella and vinyl. After a lot of calling around and getting some ridiculously high quotes from people who either did not want to really do the work. Or thought way too much of their skills. We finally found someone that we could work with.

The folks we got to do the canvas work for us on the dodger is:
Jones Company Design, LLC.
Lorraine & Ken Jones
jonescodesign@yahoo.com

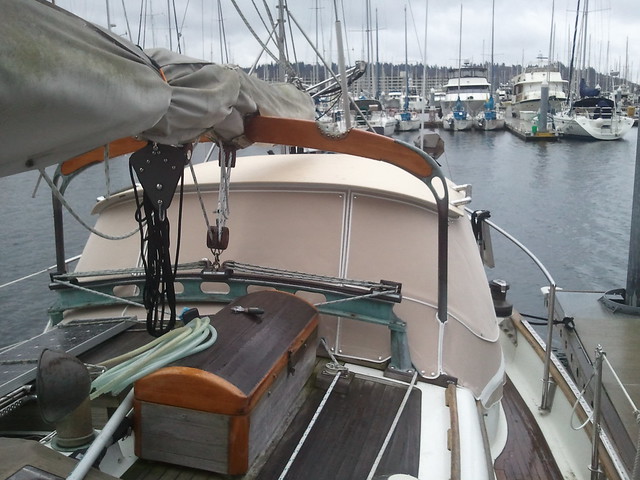
They did an AWESOME job on the dodger. They did exactly what we wanted. Even when working from awesome instructions/request from me, like…”uh…I don’t know. What ever you think looks good”. The whole thing turned out way better than I could have hoped for.

Don’t believe me? Take a look for your self:
From the front:

From the back:

Ignore the ugly ass sail cover. We are getting new sails this fall and the sail cover will be replace then.

And to answer a question from a friend. The canvas is attached to the hardtop portion by a track I had screwed and 4200’d into place. The track material is called Flex-a-rail. And is very easy to work with. Heat it up with a heatgun and mold/bend it to the curves you want and your good to go. I put a screw every 3 inches and used 4200 for added holding and to keep water from getting under the track and causing issues down the line.
Posted in Installations, Palarran | Tagged , , , | 4 Comments

Hard dodger build/install

I don’t know how some of you people do it. And by “it”, I mean how you manage to get shit done on your boat and take pictures of the process along the way. When I start working on something, I do think to myself, “I should take pictures of each step or each major step as I do this. Then I’ll post in on the web and make the world a better place”

I never do.

What I normally end up doing is taking a beginning photo….then approximately 7/8ths of the way though the project, I take a couple more photos with nothing in between. My current project is a perfect example of this.

Right now I am working on replacing our old worn out canvas dodger with a shiny new hard dodger. Well, top half will be hard. Our current dodger is your average one inch steel tube frame with canvas and vinyl stretched over it. The problem with it is that it is well over 10 years old and absolutely falling apart at the seems. Which is to be expected of 10 year old canvas.

The other problem is, we want to mount two additional solar panels on top of the dodger and that is not really doable on sun rotted canvas. So, we decided to build a hard dodger. At first we thought of building it out of fiberglass. Which turns out to be a bit more work than either one of us really wanted to do.

The other option I came up with was to make it like you would when making a skateboard; using 3 or 4, 4×8 sheets of 1/8th inch birch board and laminating it together with tightbond 3 water proof glue, then cutting it to shape. That was the way I was planning on doing it, until Tawn stumbled across a webpage of a guy that did something very similar using a plastic product called Starboard.

Starboard turned out to be the way we were gonna go. So bought some poster board and taped it together to make one big sheet and laid that over the top of the existing stainless tubing, which is to remain in place and serve as the base/frame for the new hard dodger. I cut the poster board into the shape I wanted to use as a template. I then went to Tap Plastics down on Lake Union and got a 4×8 sheet of 1/2 inch think tan colored Starboard.

Using the poster board template; I simply cut the Starboard to the outlined shape I wanted using a jig saw. The Starboard material can be worked just like wood. I routed the edges to get a nice smooth round edge and did a little light sanding.

To mount the Starboard to the frame, I am using 1inch stainless steel “U” clamps and counter sinking the screws from the top.

The dodger frame is curved, so I lined up and fastened the starboard to the flat portion on top and center of the frame as seen in the picture above.

Using a set of ratcheting tie-down straps from my jeep; a couple heat guns and a infrared heat lamp I was able to get the perfect bend in Starboard. I’m actually very surprised it turned out as well as it has.

And another view

I will be finishing up installing the mounting hardware this weekend. And we are having someone come out to measure and give us a quote on how much it will be to make the bottom window out of canvas and vinyl.

Posted in Installations, Palarran | Tagged , , , | 3 Comments

How to install a Hydrovane Windvane on your boat.

Your complete Step-by-Step resource guide for installing a Hydrovane Windvane on your boat.

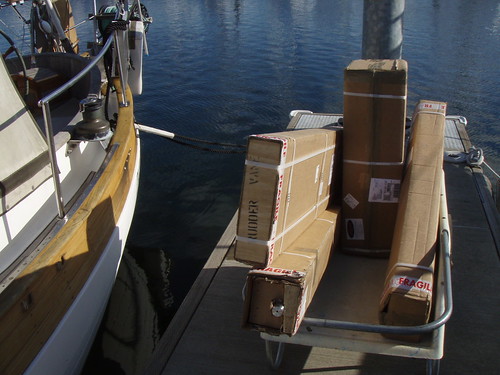
Step 1: Get a bunch of heavy card board boxes from England delivered to your boat.

P6131044

Step 2: Open that shit up and look at the stuff inside.

P6131047

Step 3: Start putting above mentioned stuff on the back of your boat.

P6191053

Step 4: Repeat step 3 a bunch of times over the coarse of your weekend. (Note the use of pvc pipe instead of the heavy stainless steel for the mockup).

P6191055

Step 5: Go sailing and let the stuff from step 2, and installed in steps 3 & 4 do the driving.

If you have any questions about the installation process, I can’t help you. It really was so simple I didn’t really use the instructions included other than a read through once or twice a few weeks prior to the stuff being delivered.

Posted in Day Sails, Installations, Palarran, videos | Leave a comment

Time Lapse

We “sailed” over to Poulsbo for the weekend with a bunch of friends to watch the new Pirates of the Carribean movie over the weekend (which sucked by the way).

Before leaving, I decided to hook up one of our camaras to the back stay and have it take a picture every 5 seconds during the trip over. The end result was 1788 photos and the time lapse video below.

Not sure why the quality is so poor on youtube:

Time Lapse from Shilshole to Poulsbo on Youtube


Posted in Adventures | Leave a comment